When I was young, sports photography was something I only dreamed that I’d be able to master. But, I had to start somewhere. So, I ended up getting a job for a local newspaper to take photos of local high school and college sporting events. Dream come true.
But I quickly learned that sports photography is among the most difficult disciplines of photography there is. And I, benefited tremendously from meeting my photo mentor (now my veteran pro photographer friend) at one of those sporting events.
 My point here is simple: When it comes to photography, you can’t learn it all on your own… Which is exactly what the Internet is for, amirite?!
So here is a very simple 3-step Guide to Sports Photography, as told by someone who’s been there and done that, been successful and then not been so successful.
1. What you working with?
Whether you’re using a point-and-shoot or any DSLR, a good starting point is to think about how much zoom you’ll need to use from your vantage point. If you’ve got a big lens (and by that I mean something that has a long-range zoom, like a DSLR with a 300mm lens), you’ll often have more choices of where you can shoot from.
Most of these cameras will also have a manual mode. I usually shoot in Manual, find a setting and adjust throughout the game or event for different looks.
The point: Assess what camera and lens you’re working with to best position yourself before the action starts and put your camera in Manual mode.
2. The technical basics.
Since we’re starting at the beginning, it’s a good time to familiarize yourself with some common photography terms (just in case you haven’t already).
Shutter speed: This is the length of time that your shutter stays open and “exposes” the photo. Obviously, this doesn’t actually happen now that we’ve moved away from film, but, the settings are still the same and basically, your shutter speed is part of what controls how bright and how crisp a photo is. The longer the shutter is open (aka, the slower the shutter speed) the brighter the photo will be, but, you’ll also capture more movement.
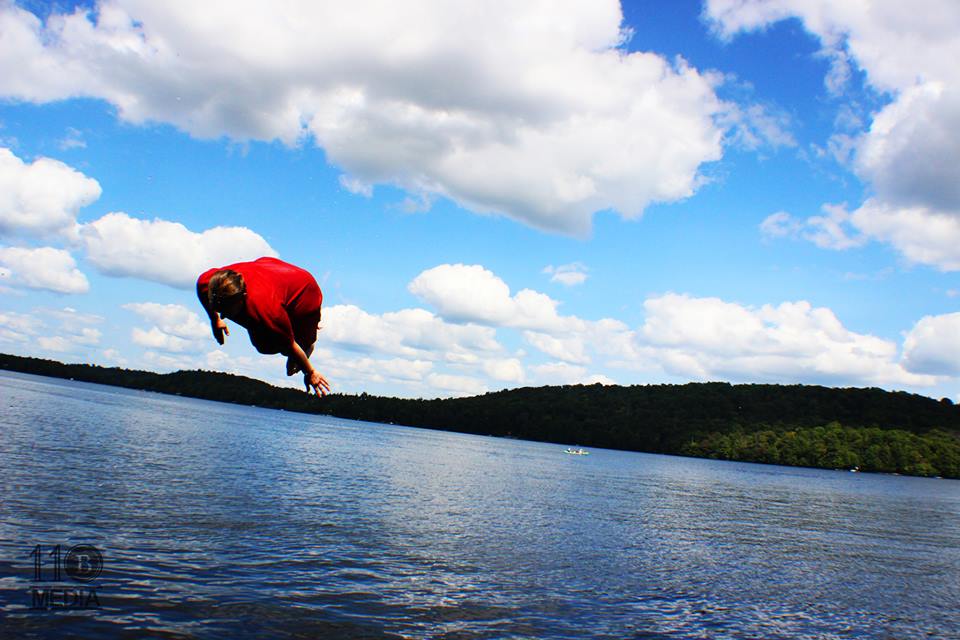
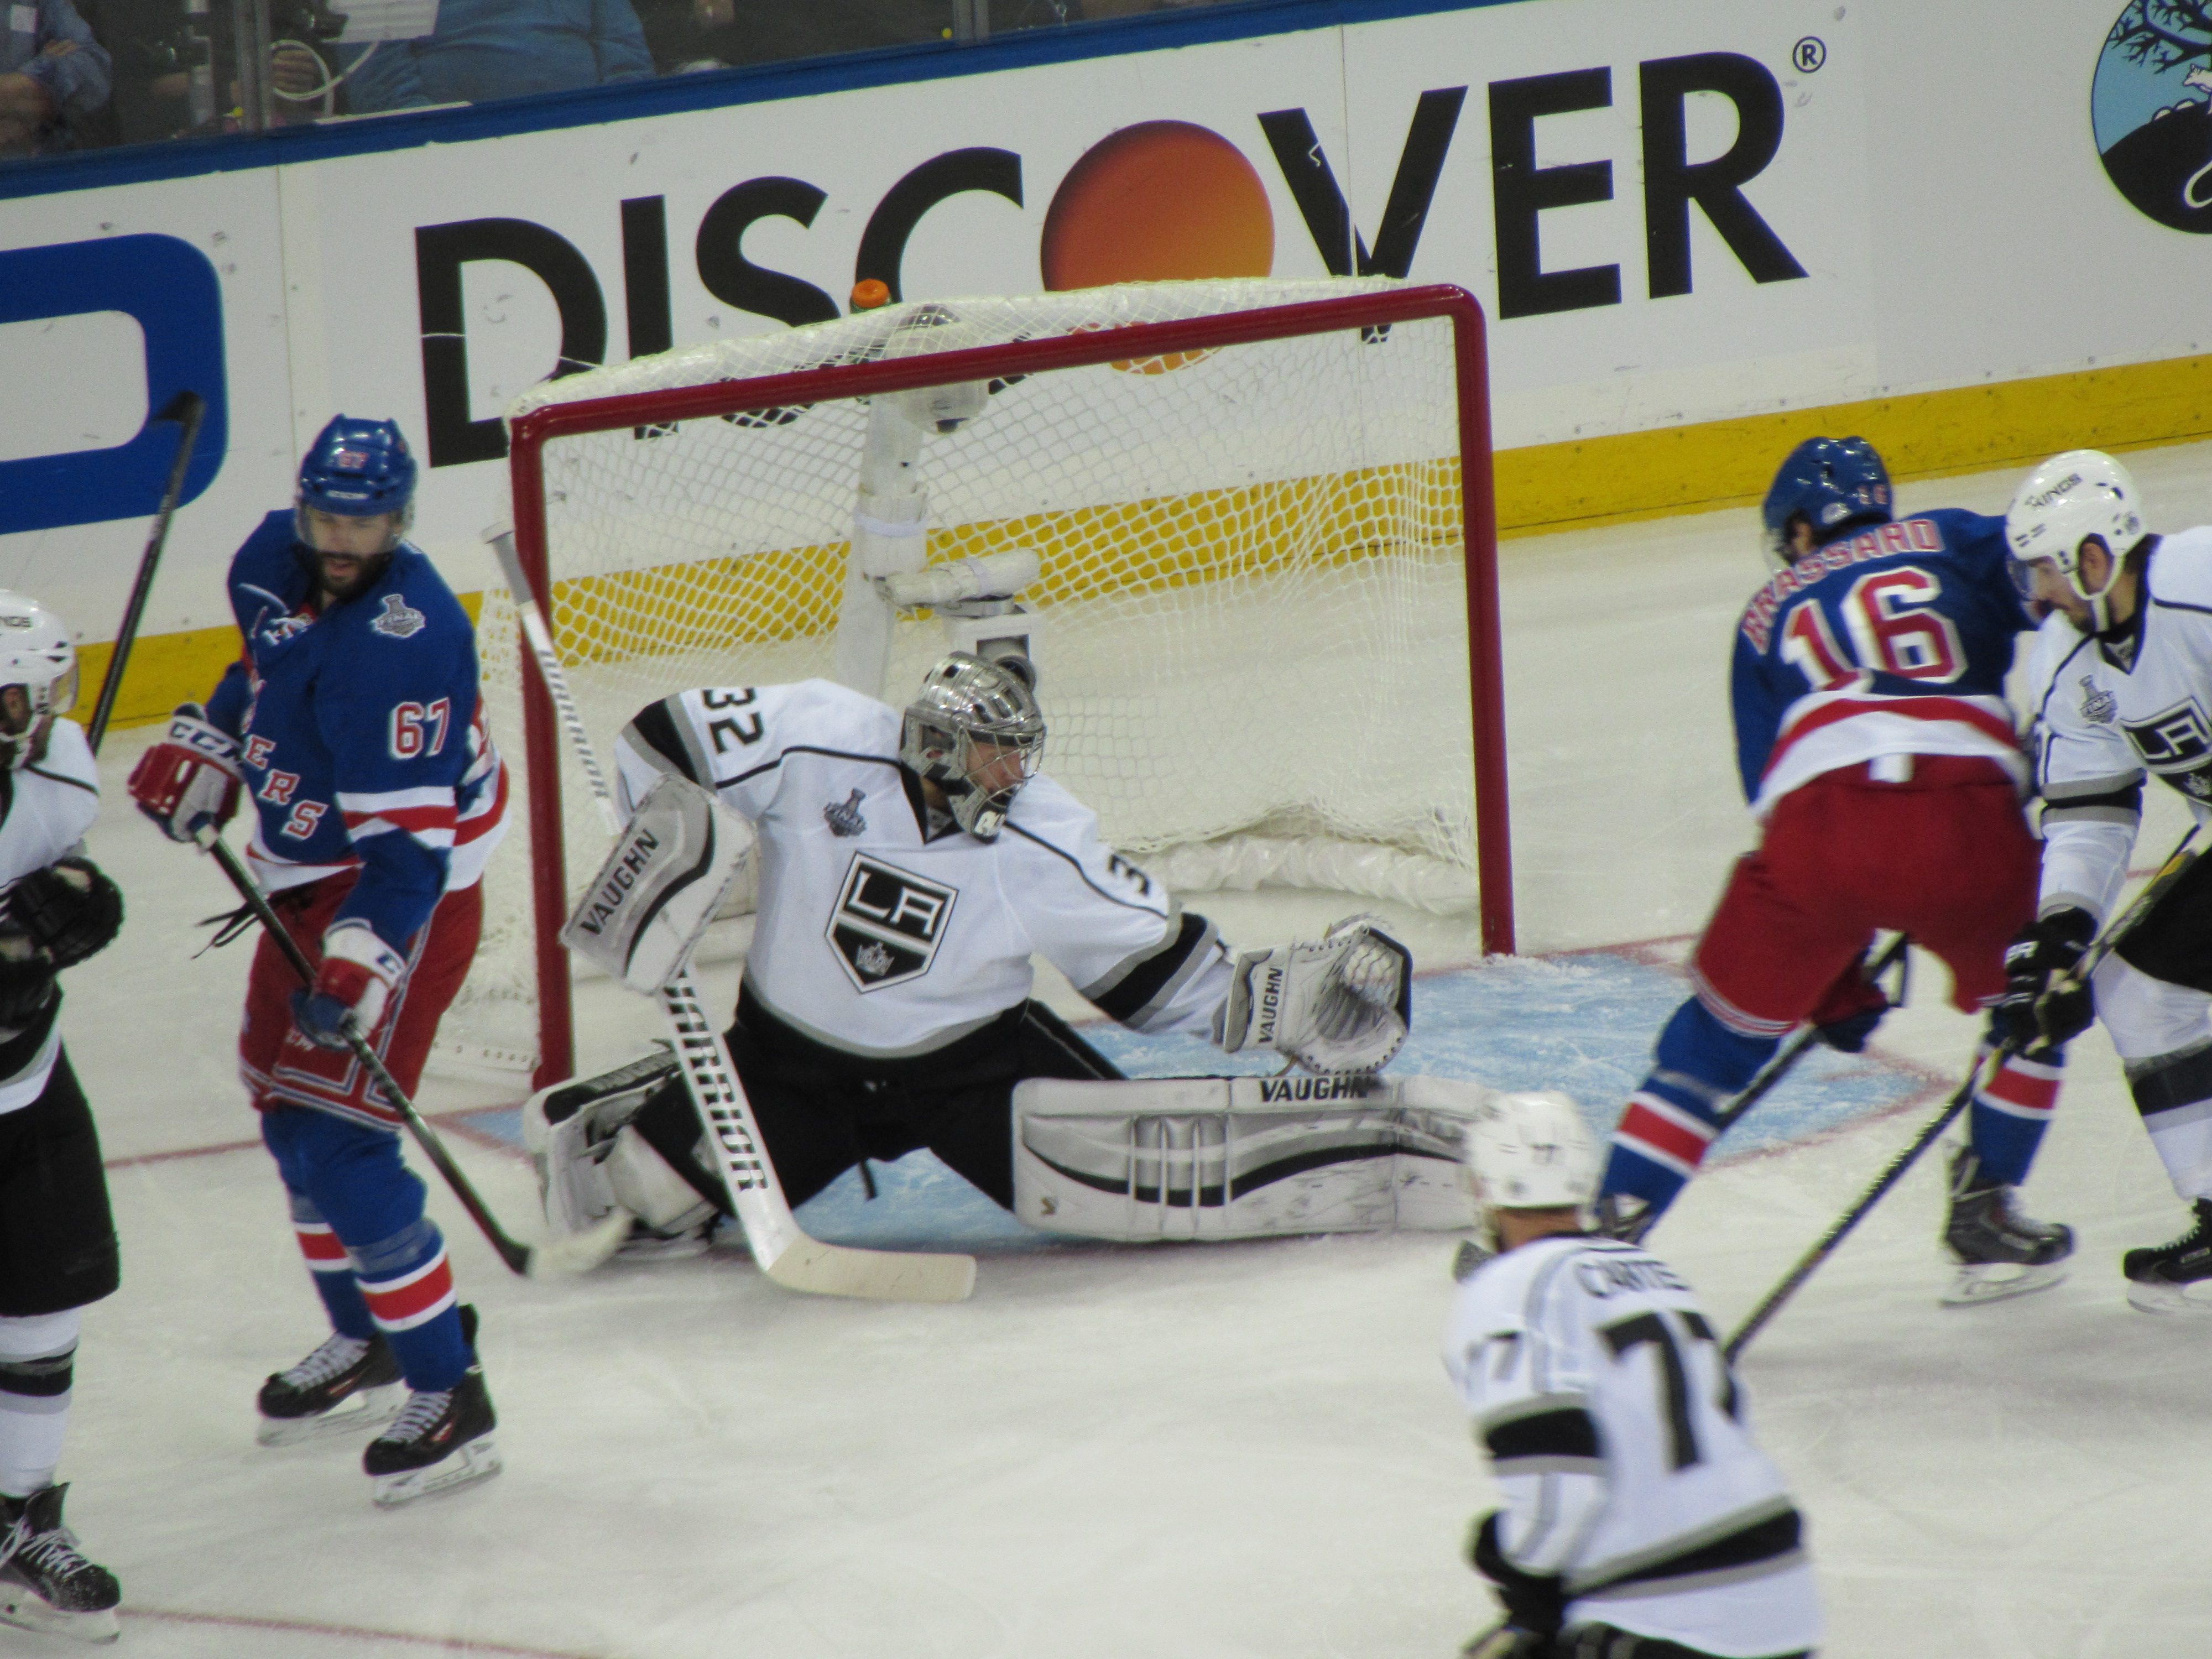
For sports photography, shutter speed is huge. Why? Because you’re almost always trying to stop motion. At 1/1000 (a very fast shutter speed) you’re sure to stop all motion. This is a good setting for nice bright outdoor events. But on a gray dark day or at something indoors, this shutter speed will almost always be way too fast to use without some sort of huge flash contraption.
Aperture (f-stop): This is a fancy name for how big (or small) the diameter is on your lens controlling how much or how little light exposes our invisible digital film. In other words, it’s another way of controlling how bright or dark your picture is. Aperture also controls your camera’s depth of field, which is how in focus or out of focus the picture is from background to foreground.
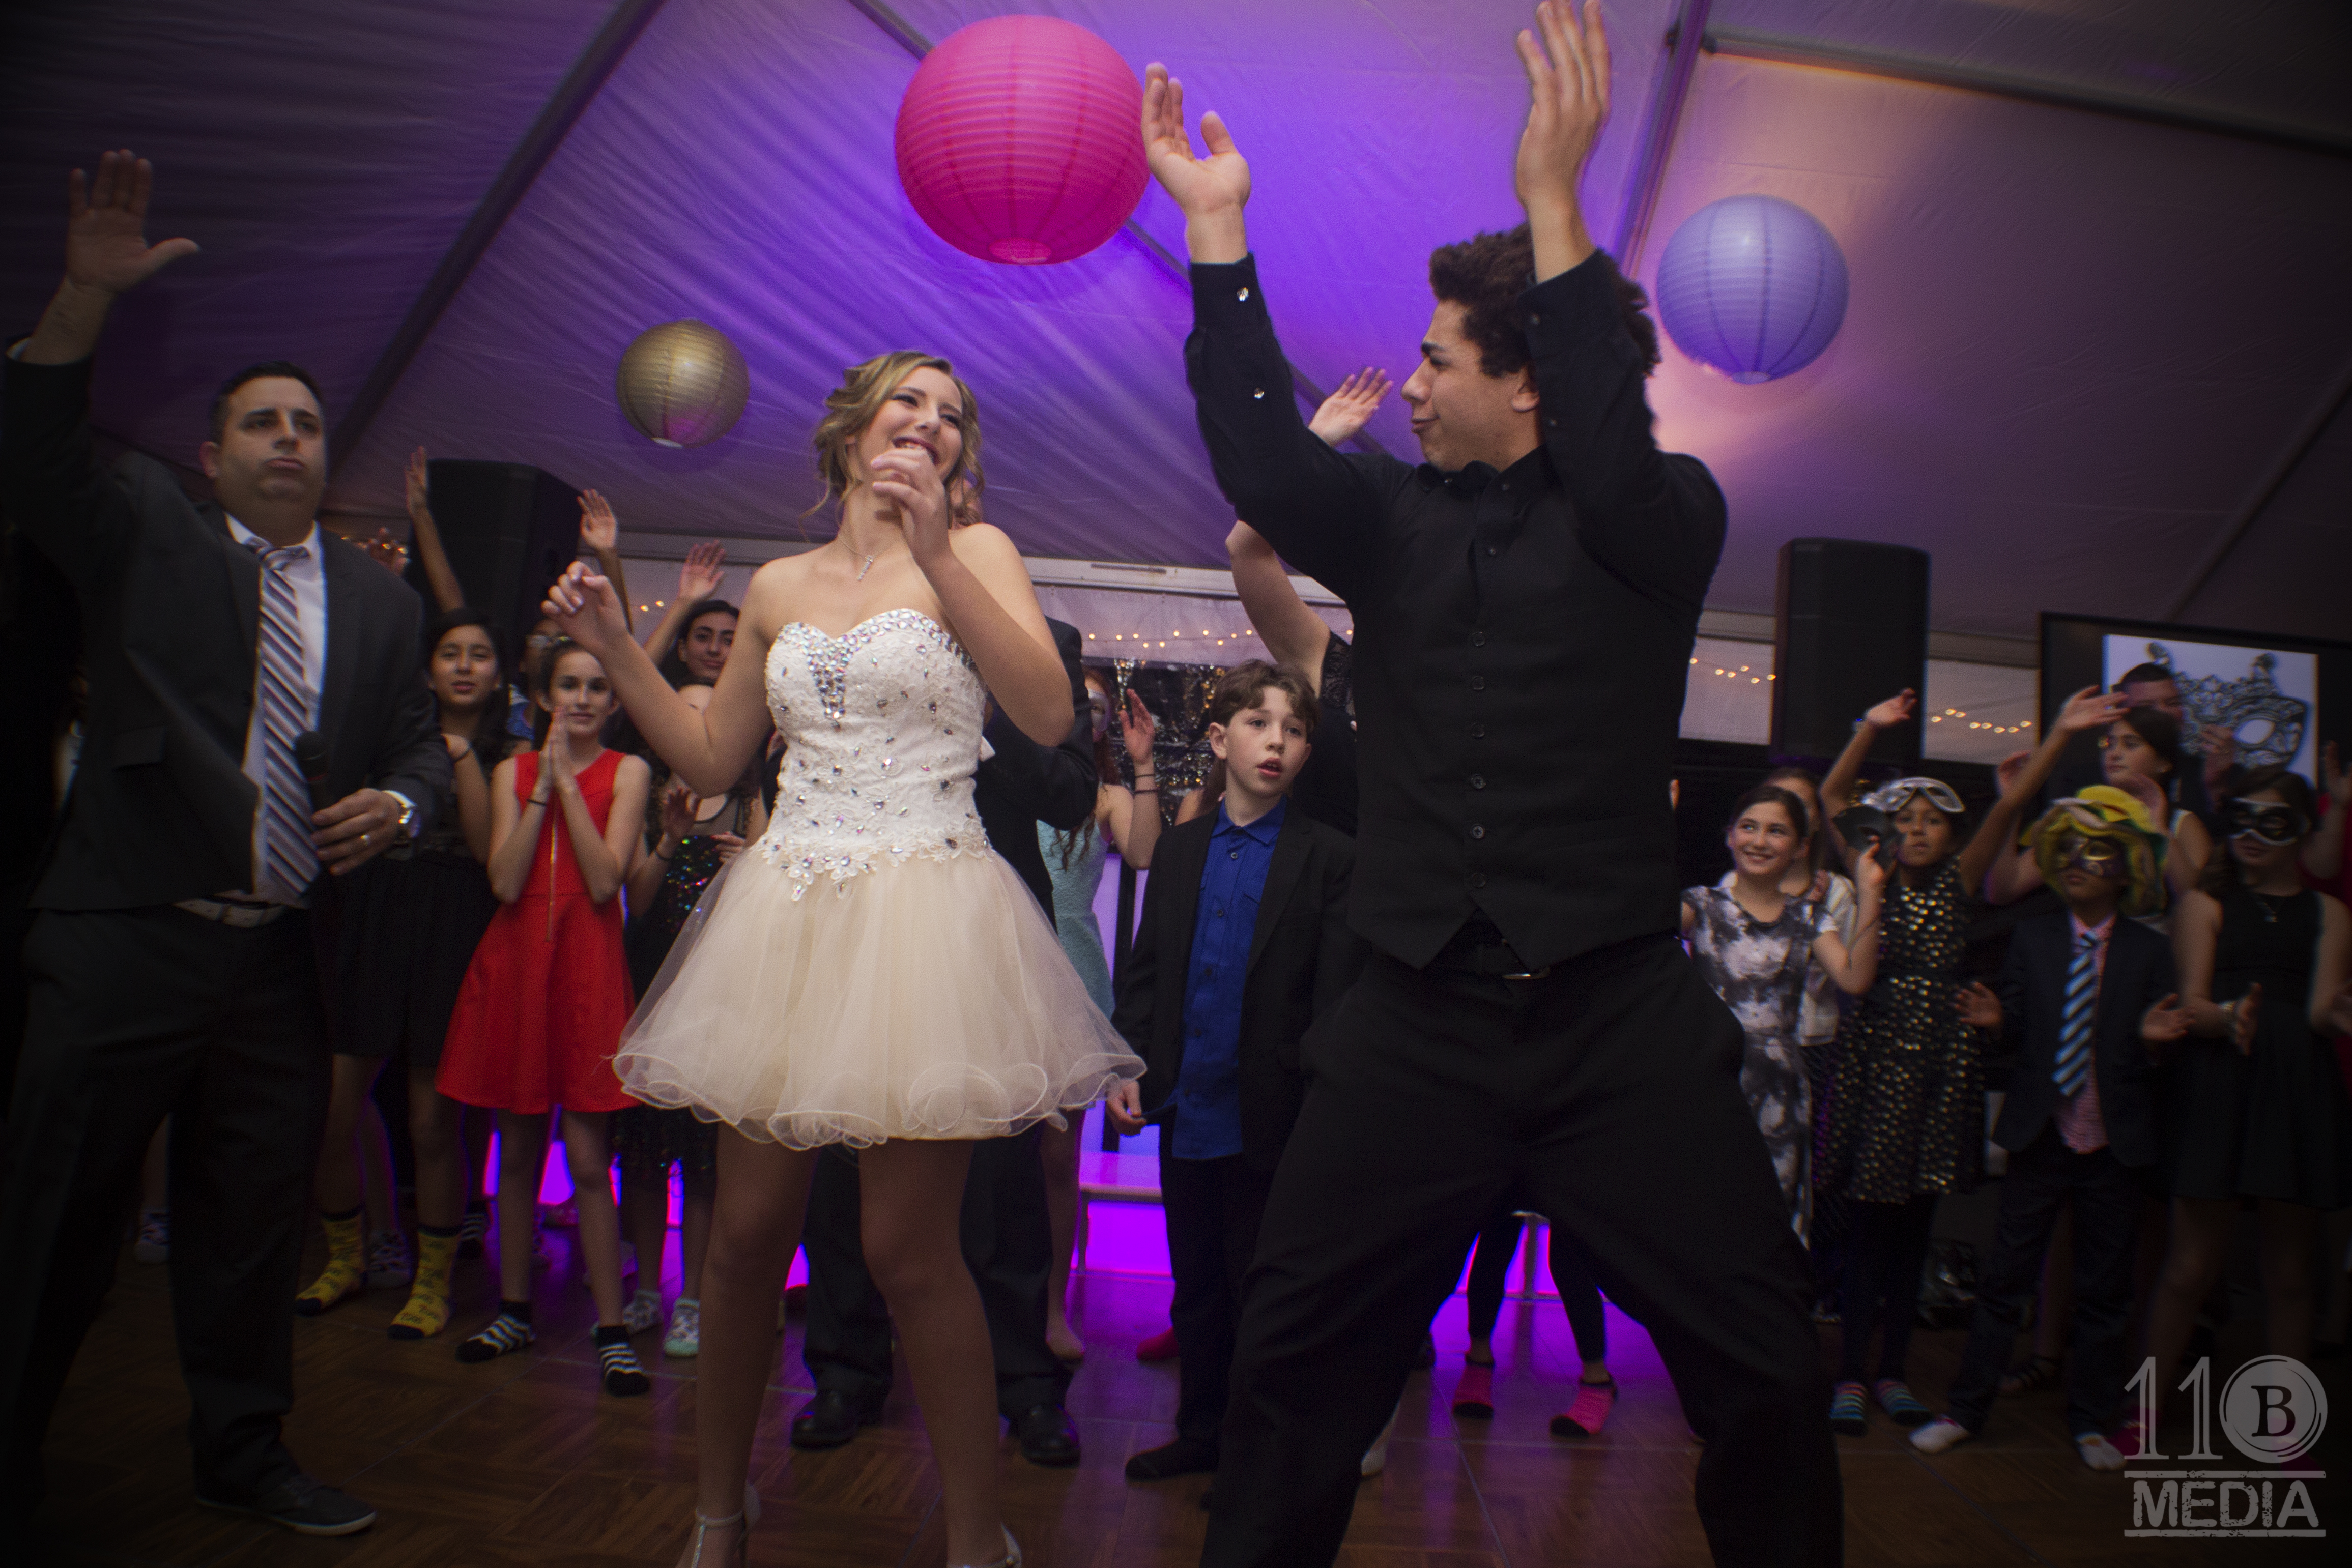
A good starting point in learning to control aperture is to understand that the larger the f-stop number, the less light can be taken in. High f-stop values also allow you to have a very crisp and deep depth of field, meaning you can take very crisp pictures of things that are far away. Lower f-stop numbers allow more light and therefore produce brighter photos. These settings are best for indoor venues (in which case you’ll probably want to go as low as you can go, depending on your lens).
I know that aperture values are ass-backwards, but it’s just the way it goes.
The point: If you want to learn more about photography, shutter speed and aperture are things you’ll need to master and use to compensate against each other to take clear, balanced photos. With lots and lots of test shots, you’ll need to find the ideal balance of aperture and shutter speed. A lot of this will be determined by the venue and the weather.
If it’s an sunny and bright outdoor event, start off with settings of f4 and 1/1000. If it’s an indoor event, try shooting at f2.8 (or as low as the f-stop will go) and 1/100.
From there, it’s up to you to start messing around and find out what works.
The second point: You may not be able to learn it all on your own, but the only way you’ll ever learn is to take lots and lots and lots of pictures. Trial and error, my friend. That is the name of the photography game. You will never learn how to use a camera until you start messing around with it.
3. See the picture before you take it (but take lots of them just to make sure you’ve got it).
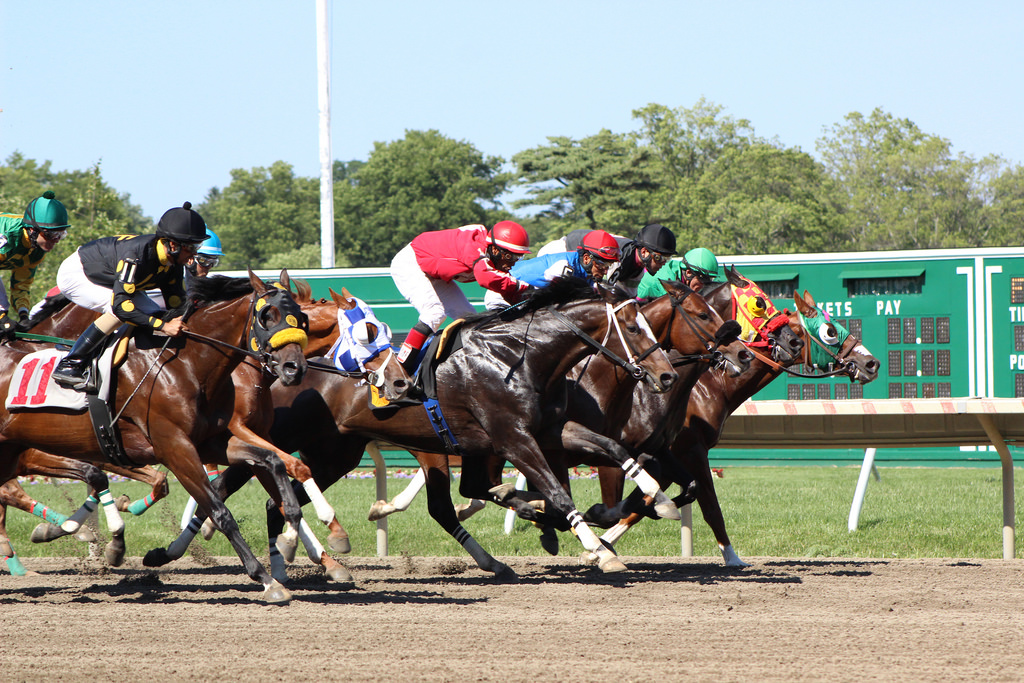
This is probably the best piece of advice I ever learned from my photo mentor at a sporting event: To be a really good sports photographer, you’ve got to anticipate the action. If you can do that, you’ll probably put yourself in the right place at the right time to take a great picture.
Composition is so important when it comes to taking a good photo. Therule of thirds is a good place to start. For sports photography you’ll also want to position yourself so that you can see the players’ faces (as opposed to the top of their heads or a low side view). The good pictures are where the action is and they’ve usually got a good view of all the important action.
The point: Sports photography is meant to take the viewer to the game and provide a glimpse of what happened. Games can change in an instant so make sure you’re behind the lens for the critical moments of the game, otherwise it will be over before you know it and all you’ll have are reaction shots.
At the end of the day, the only way to learn is by doing so pack your camera bag, get out there, and happy hunting!
-ML